Deploy and expose your first spring boot app to AWS

Abhamayee is a skilled Software Engineer with a BTech in Computer Science Engineering from India. Currently staying in Toulouse, France.She possesses expertise in Java, SQL, and Shell scripting. She has hands-on experience in technologies such as Spring, Spring Boot, Hibernate, AWS, and Kafka.
Setup Amazon EC2 and Remote access Through SSH
Follow below steps to setup an EC2 instance and remote access through SSH.
Sign in to AWS console and go to services and search for EC2 under compute or else you can directly search EC2 on search bar.
Click the launch instance button
Give any name for instance. For example:
server-demoSelect an AMI that is eligible for the free tire. Lets choose
UbuntuChoose
t2.microas instance typeCreate a new key pair of type
RSAorED25519and download the private key file(.pem). This key is crucial for SSH access.
Apart from above configuration, Please leave everything to default settings and click on Launch instance.
Once the instance is running, you can connect to it remotely using SSH through terminal.
Follow below steps in terminal to connect to EC2 via SSH.
Connect to instance using SSH
ssh -i path/to/your/key.pem ubuntu@your-instance-public-ipReplace
path/to/your/key.pemwith the path to your private key file andyour-instance-public-ipwith the public IP address of your EC2 instance.The authenticity of host '35.180.7.1 (35.180.7.1)' can't be established. ED25519 key fingerprint is SHA256:JMm4bD6/QfTc5hnoHiKLlXIaK5dYEFuSRx4CJ3lIqmk. This key is not known by any other names Are you sure you want to continue connecting (yes/no/[fingerprint])? yes Warning: Permanently added '35.180.7.1' (ED25519) to the list of known hosts. @@@@@@@@@@@@@@@@@@@@@@@@@@@@@@@@@@@@@@@@@@@@@@@@@@@@@@@@@@@ @ WARNING: UNPROTECTED PRIVATE KEY FILE! @ @@@@@@@@@@@@@@@@@@@@@@@@@@@@@@@@@@@@@@@@@@@@@@@@@@@@@@@@@@@ Permissions 0644 for 'Downloads/server-demo.pem' are too open. It is required that your private key files are NOT accessible by others. This private key will be ignored. Load key "Downloads/server-demo.pem": bad permissions ubuntu@35.180.7.1: Permission denied (publickey).If you get similar kind of response then you don't have permission to access
private key(.pem)file.Use
chmodcommand to change the permission of your private key file.chmod 400 path/to/your/key.pemThen once again try to connect to instance using ssh command.
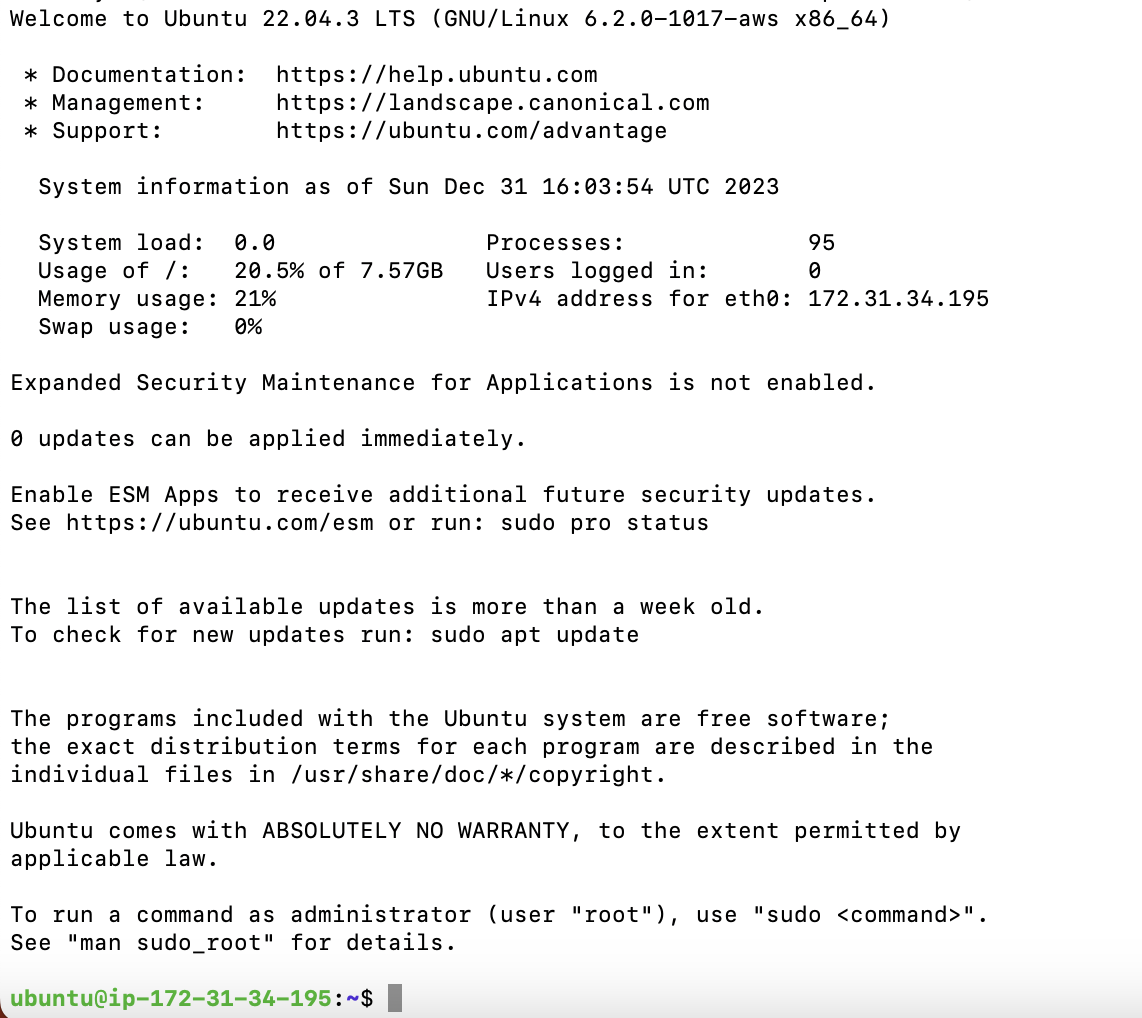
Congratulation on successfully establishing access to Ubuntu instance.
After successfully establishing connection, make sure to execute below command to update necessary OS packages.
sudo apt update
Let's proceed to the next step where we will test the spring boot application on the ubuntu server.
Deploy a Simple Spring Boot App into EC2
Clone the Github repository using the below command.
git clone https://github.com/abhamayee/deployment-on-ec2.gitMake sure you have
java 17(As the spring boot app is created using java 17)andmaveninstalled in your ubuntu server. If not please follow the below command for install and verify the version.sudo apt install openjdk-17-jre-headless sudo apt install maven java -version mvn -vNavigate to the source code
cd deployment-on-ec2Build the Spring Boot application
mvn clean installRun the application
mvn spring-boot:run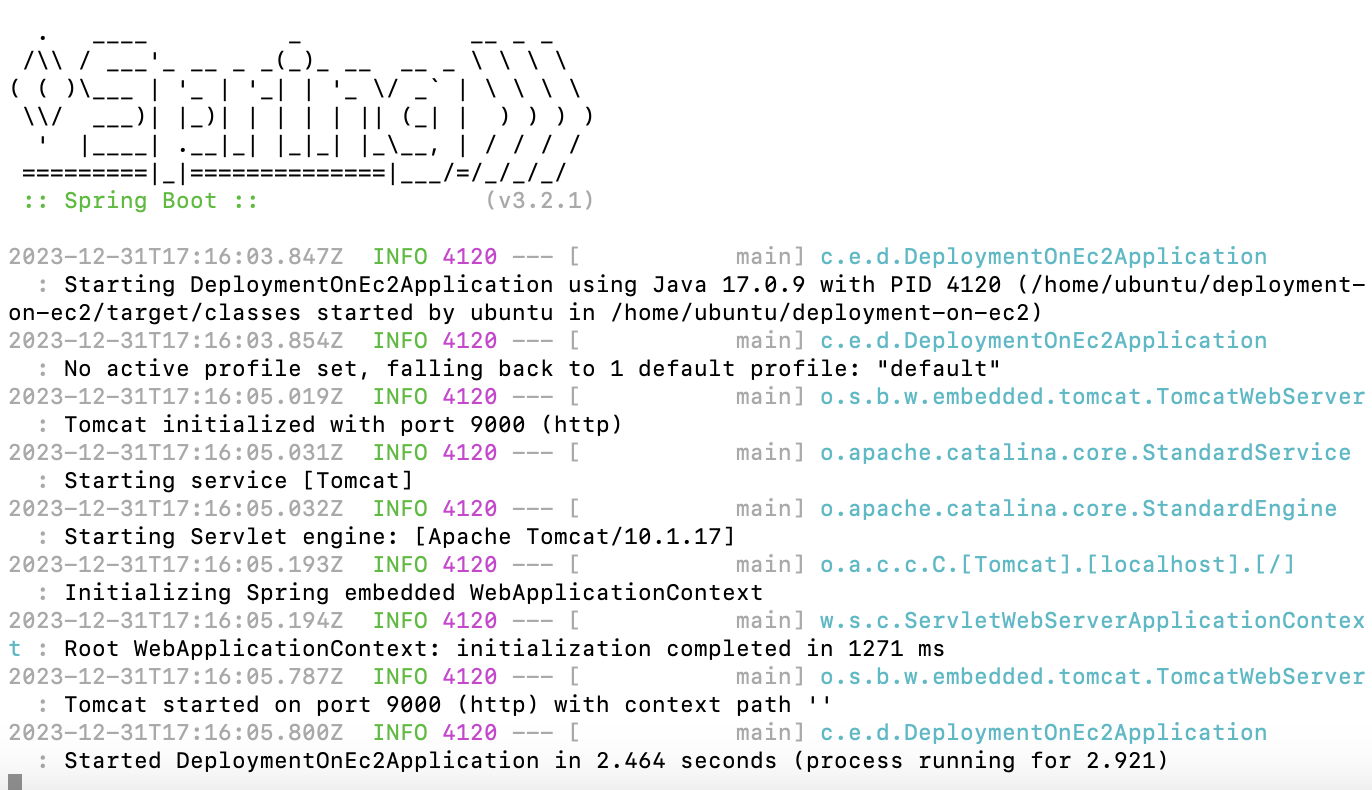
Started the application on port 9000. Port number is mentioned on application.properties file. You can change the port number in that file.
Access the application on the browser with EC2 instance public ip address and port number 9000. Example: http://35.180.7.1:9000/
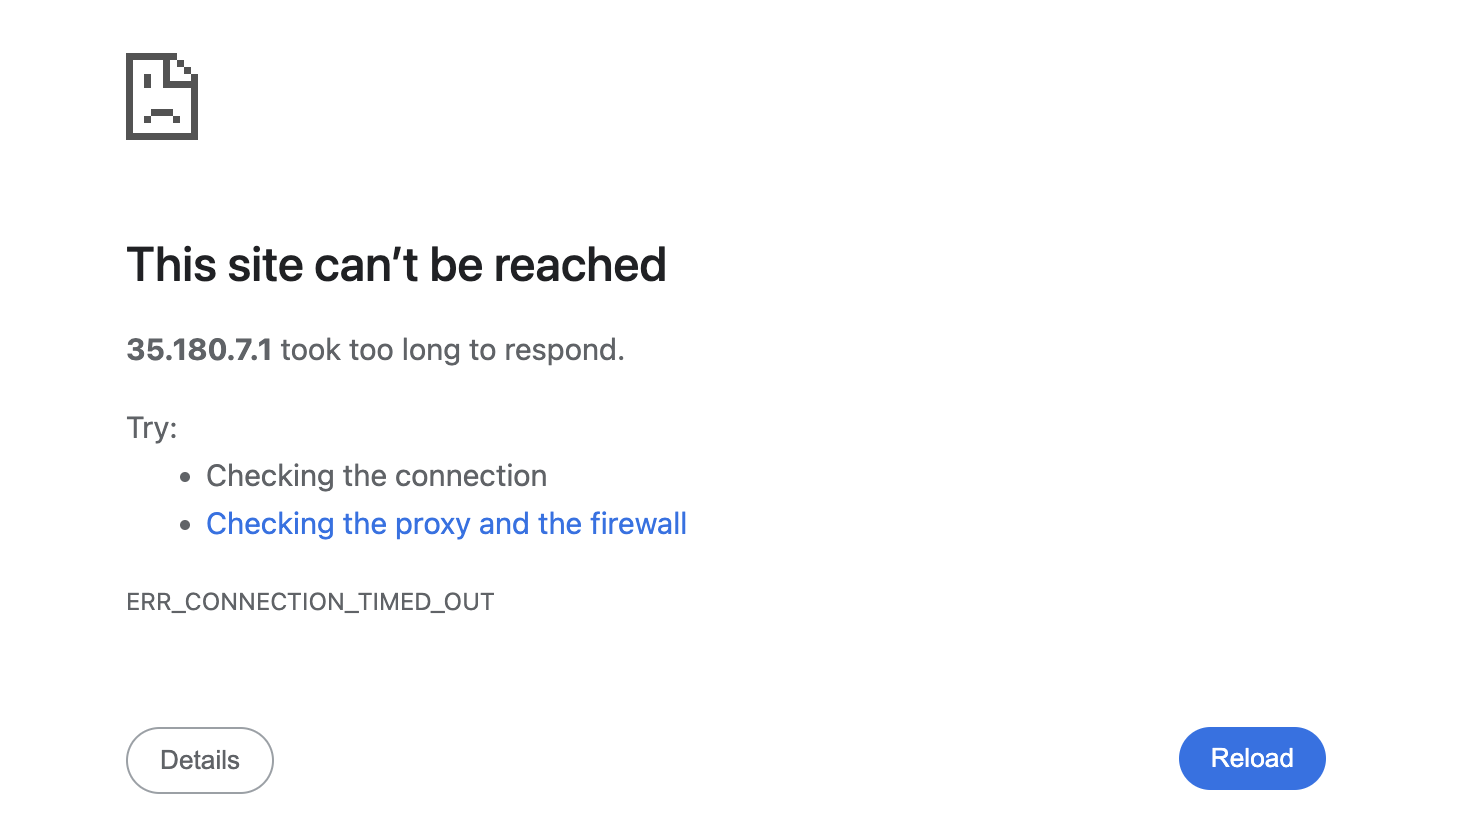
Don't worry. This is expected. To access the application on browser, we have to set the inbound rules.
Notes: Inbound rules control the incoming traffic which allowed to reach the instance. Here we have to allow the traffic from port:9000. To configure go to the EC2 instance. Then
Security -> Security Groups -> Edit Inbound Rules -> Add rule -> Add 9000 in port range -> Save rules
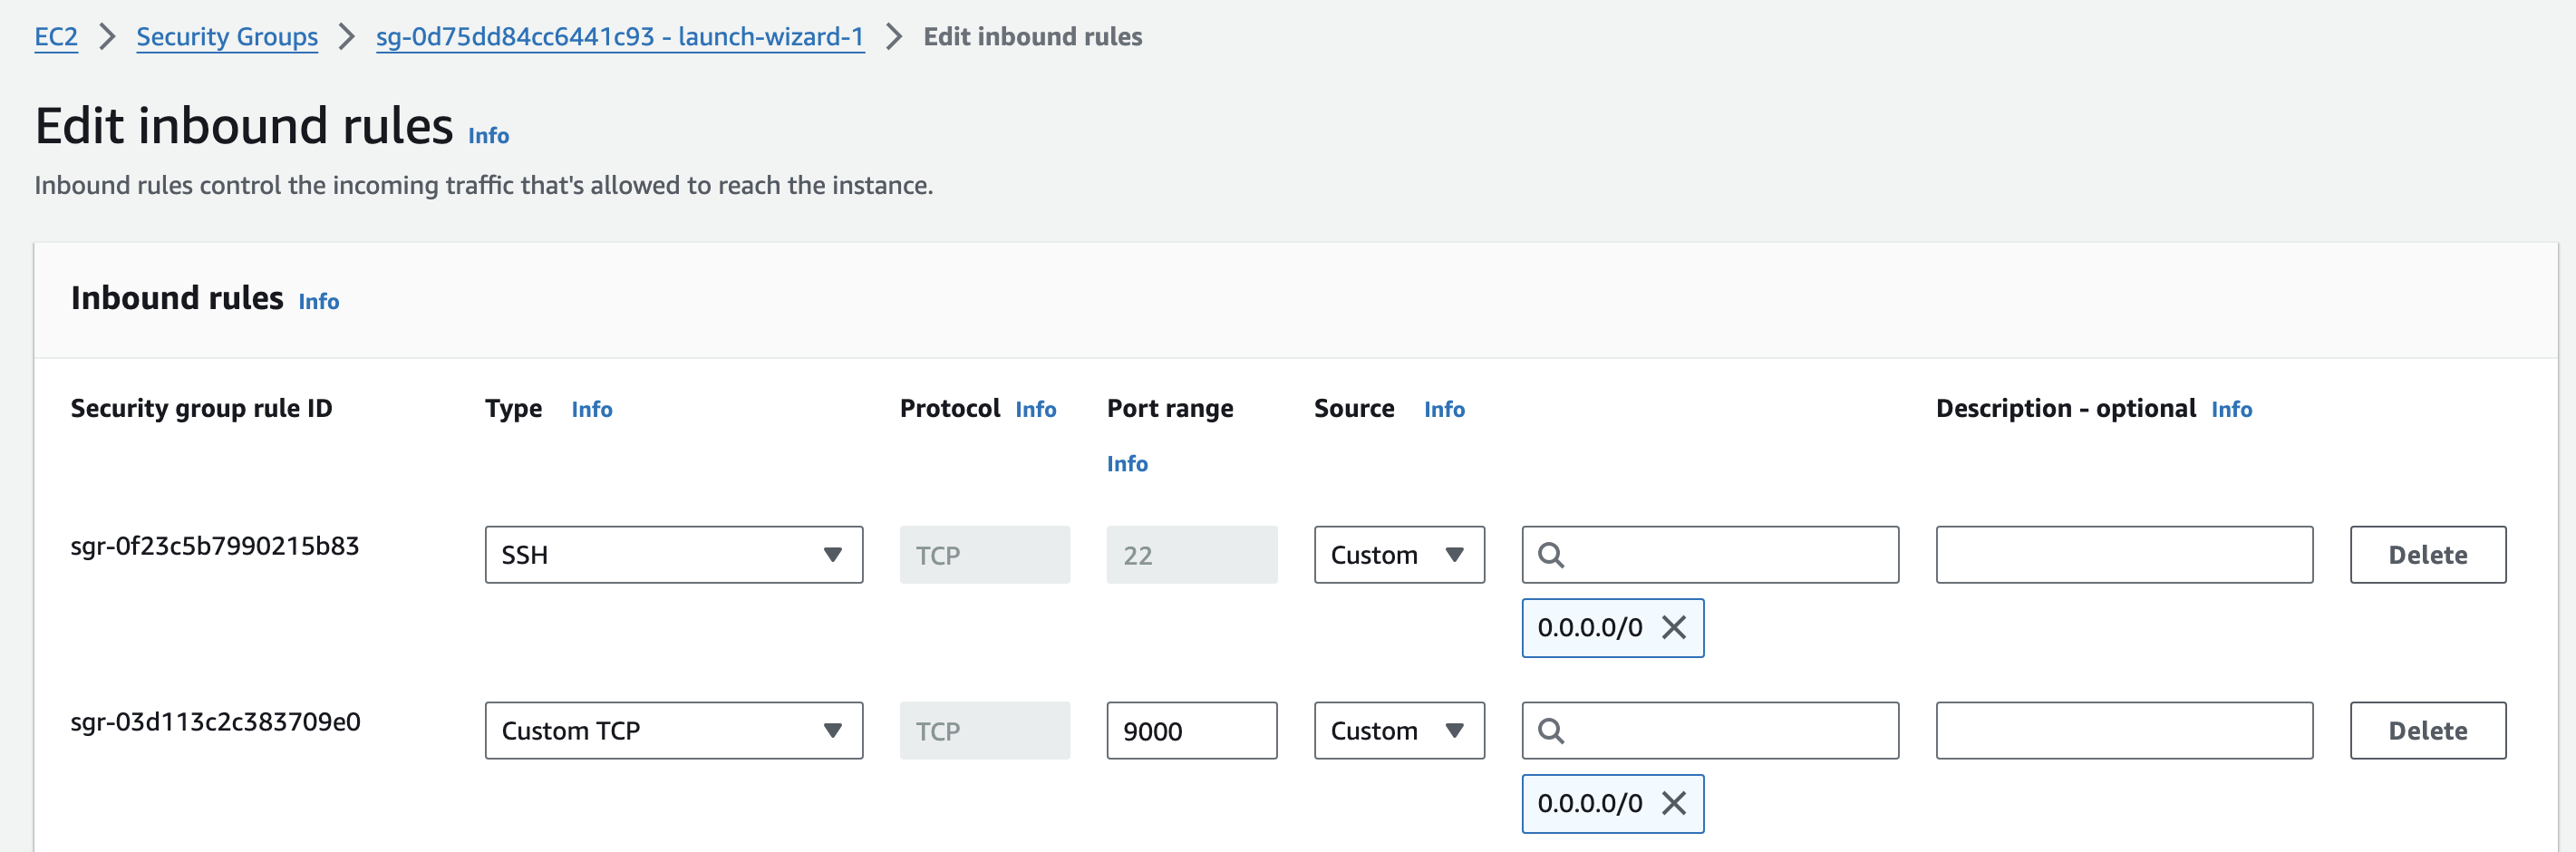
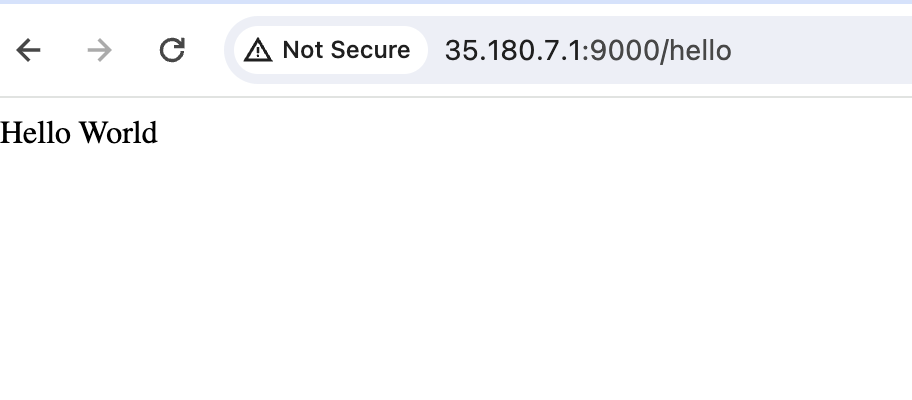
That's it! Now you can access the spring boot application from browser. Congratulation on successfully running the Spring Boot app on the EC2 instance.
Conclusion
This shows a very basic spring boot application deployment on EC2. If this is your first time working with AWS then Congratulations!
Thank you for reading!